
Kitchen Organization Part II: Pantry and Fridge
It’s spring cleaning time! Is the kitchen on your list? If so, I’m here to help. And if it’s not, give me a chance to convince you to do a little kitchen refresh. My bet is that even if you don’t cook much at home right now, if your kitchen were clean, well organized, and well stocked with lots of whole food staples, you’d cook more, and have a blast doing it. You’d improve your health and even save money by not eating out so much or buying as many processed foods. Are you convinced yet? Wonderful.
Before you read any further, however, I want you to pause and make sure you read through part 1 of my kitchen organization guide, where I teach you to define your vision (and why that even matters). Then come back here so we can move forward with transforming your kitchen into your happy place.
Done? Ok, good. Let’s start the cleaning!
We’re going to be cleaning out our pantry and fridge, focusing on getting rid of food we don’t want, restocking with food we do want, and putting that food away in an organized manner that helps us find what we’re looking for when we’re looking for it. As you go through this process, keep in mind the goals you brainstormed in part 1- your ideal lifestyle and how you envision your kitchen playing into that. Use it as motivation when the going gets tough.
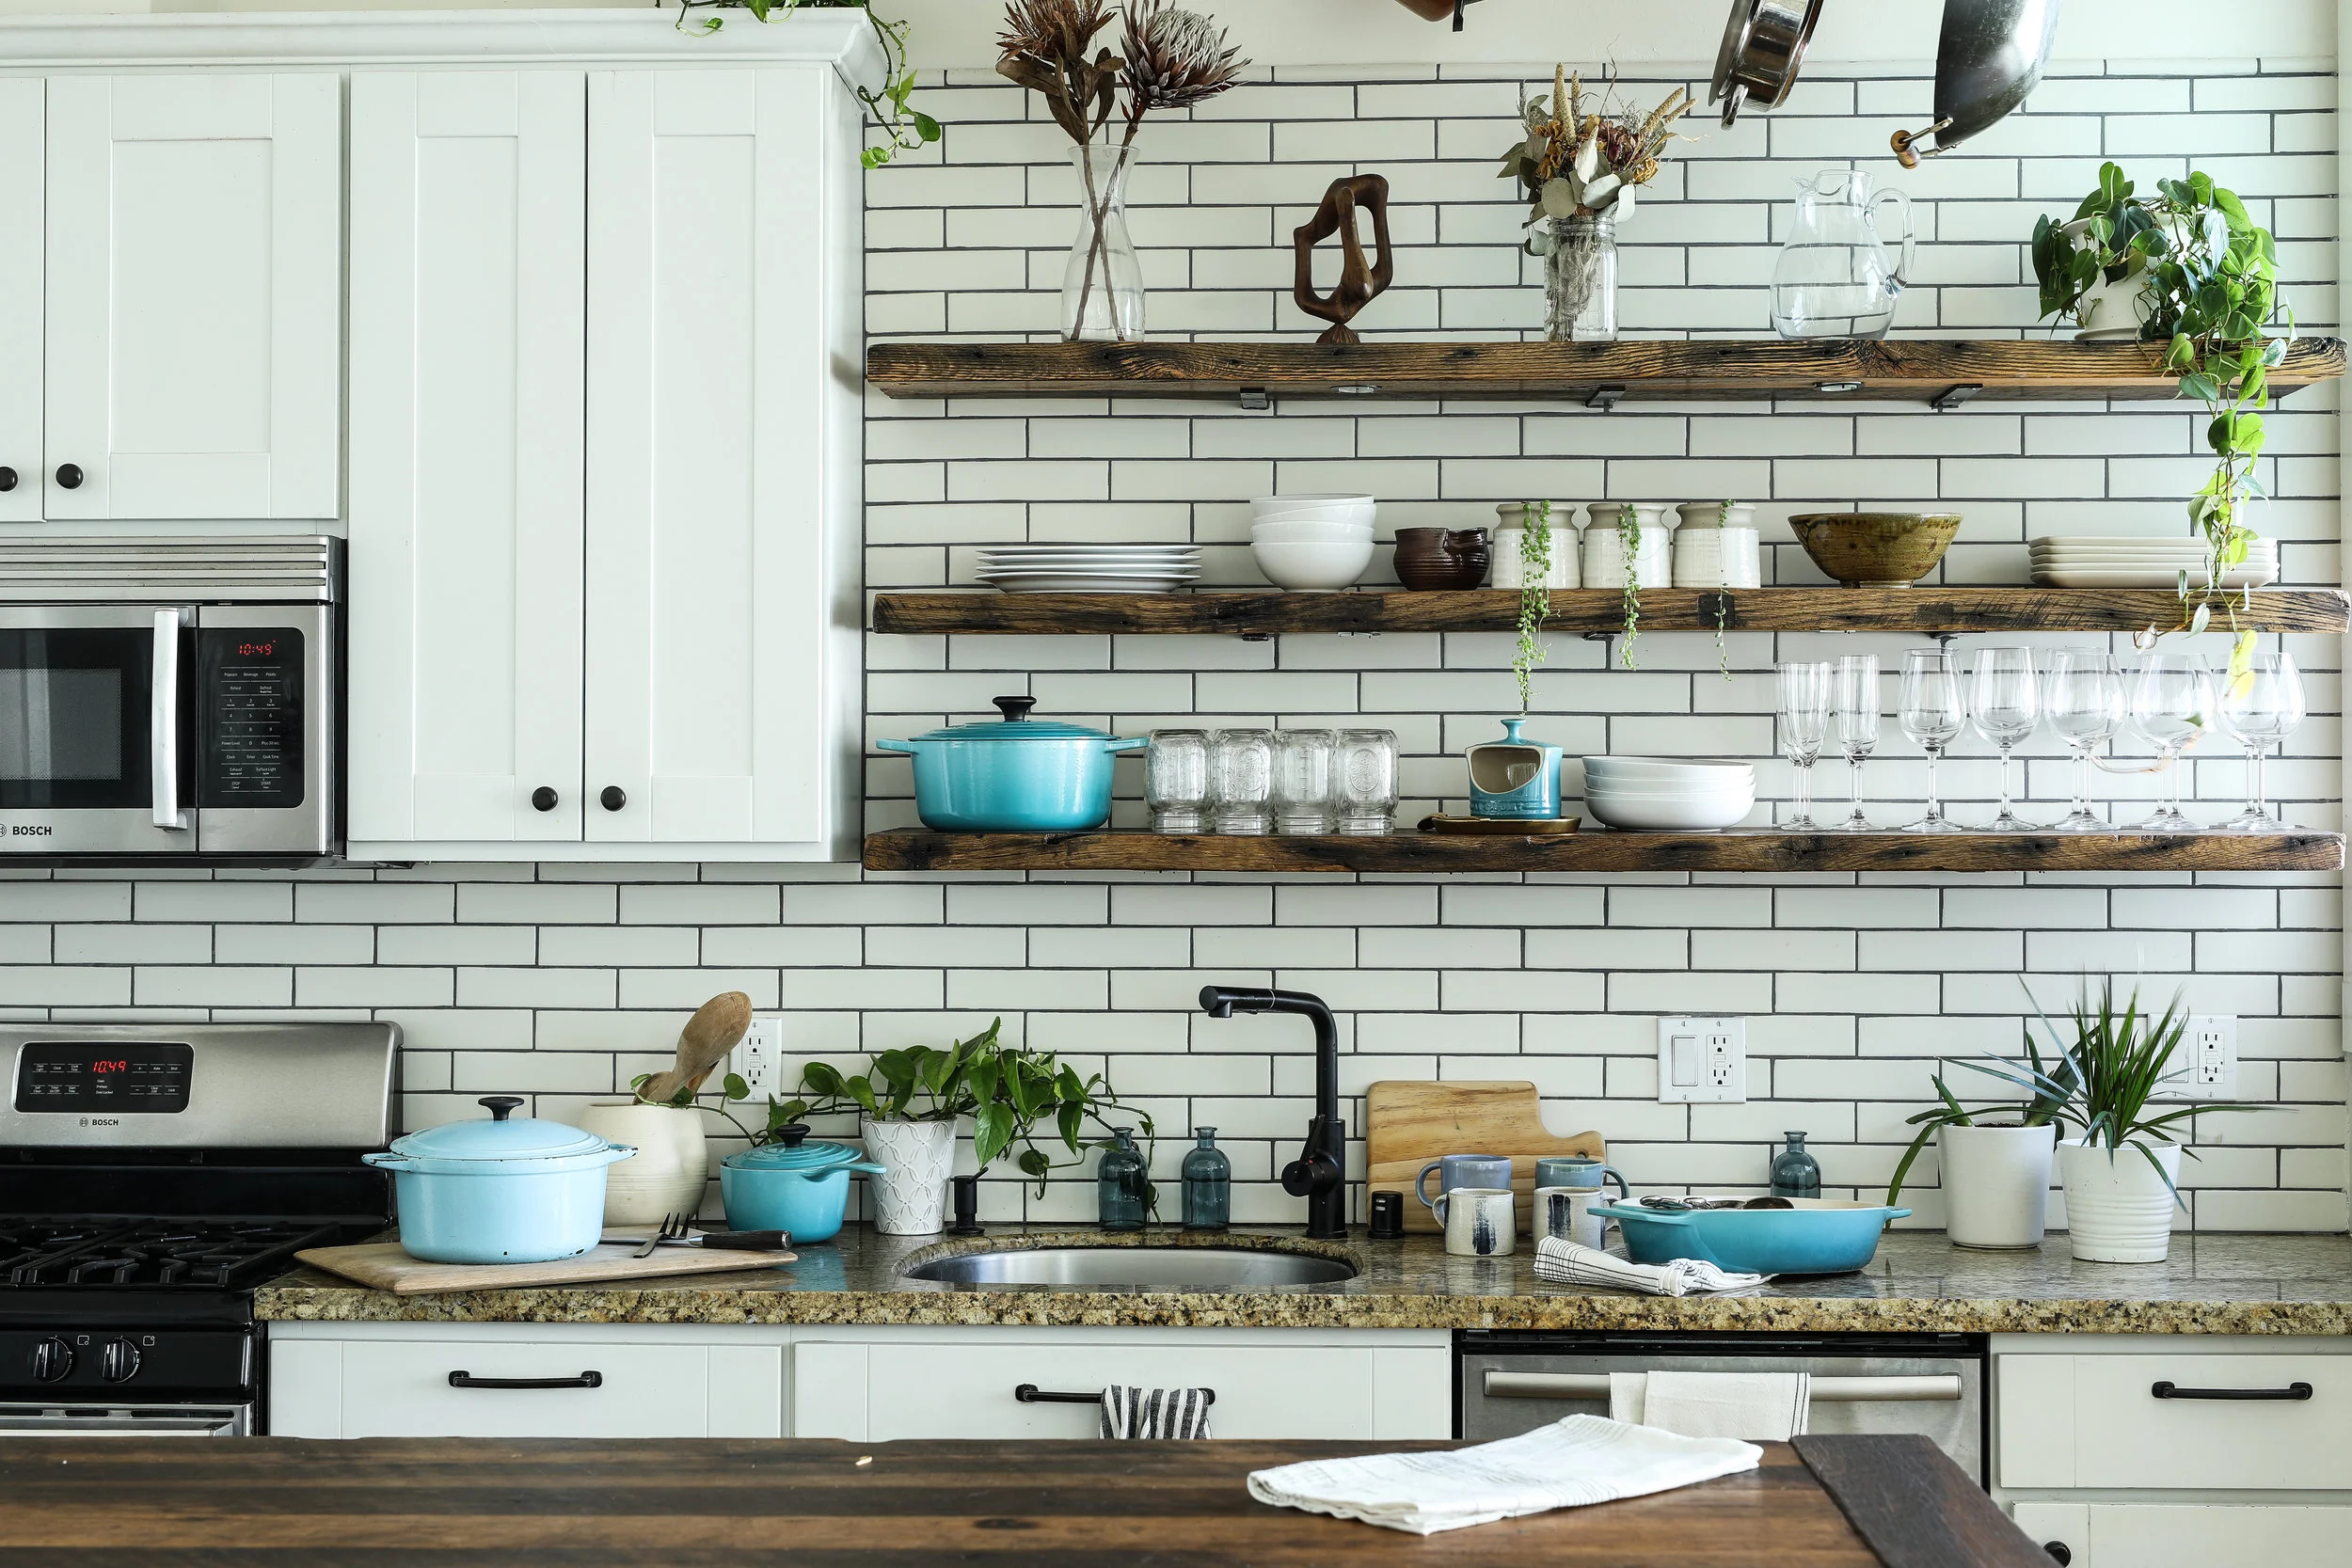
Start by Organizing the Pantry
Before you proceed, make sure you’ve got some cleared off space in your kitchen and/or dining room- probably your counters and the kitchen or dining room table. Because you’re going to need to be able to see everything.
Take Stock of Your Food
Remove all the food from your pantry— and by that I mean remove all the food you’ve got stored in your house that does not require refrigeration. If you live in a smaller home or apartment, all your food is probably in the kitchen area. But if you have a larger home, you might have food stored in other areas, like a spare closet or even in your garage. Gather all of it and set it out on your kitchen table and counters, so you can see all of it at once.
Now let’s start the process of decluttering. Here’s my suggestions, moving from easiest to more difficult:
Check expiration dates and toss any food that is expired.
Toss or donate overly processed food products. This step can be tough because there are lots of food products that are processed that you might still want to keep. For example, pasta is a processed food, and so is pasta sauce. If it comes out of a can, jar, box, bag, tube… to some degree, the food is processed. Only you can decide for yourself what degree of processed foods you’re willing to accept. Here’s what I’d look out for: any ingredients that you don’t recognize or can’t pronounce, artificial flavors, artificial colors, artificial sweeteners, inflammatory oils (canola, vegetable, sunflower).
Next step: Clean the pantry
This is the easy part! Wipe down the shelves, drawers, or wherever else you’re planning to keep your food so that you’re starting from a clean slate. Use non-toxic cleaners as much as possible. I find Branch Basics to be effective.
Reorganize and re-stock your pantry
Everyone’s kitchen and pantry space is different, but there are some general tips that can be adapted to pretty much any situation:
Store like items together. In my pantry I designate different shelves for foods based on category, so I know how to find them. For example, rices and grains are together, beans are on another shelf, dried fruits on another. I even have a chocolate shelf.
Make sure you can easily see and access what you’ve got. Use clear glass containers to store bulk goods. I like to use quart-sized glass canning jars for most items, but I’ve got some larger, clear containers for items like flours or pastas. I also save and reuse jars that held items like peanut butter, pasta sauce, etc.
Similar to the last point, if you have foods that came packaged, try removing them from the packaging and storing instead in clear containers. If you want, take things a step further and make your own handwritten labels for all your jars and containers.
Try not to store items too deep on your shelves. If you see it, you’ll use it- and you’ll be less likely to buy duplicates when you’re at the grocery store.
Store the items you use most frequently at an easy-to-access height.
Finally, try to keep your counters clear. This can be hard in a small kitchen so think of it as your goal, and push yourself to get creative with storage.
There’s no single organization method that works for everyone, but in general, focusing on the practical aspects of how you want to be using your kitchen and then building an organization system from there will set you up for success.
Another thing- it can be fun to go shopping for new organizers, shelf inserts, spice racks etc, but try not to get sidetracked by all the bright and shiny things. You don’t need most of that stuff, and you can usually do a lot with whatever you’ve got on hand.
Organize the Fridge & Freezer
For the refrigerator, we’re going to use the same method that we used with the pantry. If you’re worried about food spoiling or defrosting while you clean out your fridge, then try prepping a large cooler with some ice packs to hold your food while you’re working.
Remove all your food
Toss fruits and veggies that have gone rotten, and anything that is expired. This includes not just food but any non-food items you keep in the fridge, like vitamins, nutritional supplements, or sunscreen.
Toss out any leftovers that are more than about 3-4 days old.
The fridge seems to be a graveyard for condiments ranging from jams and jellies to asian stir fry sauces. When I cleaned out my fridge, I was amazed by all the condiments I had bought to make asian dishes (like vegan oyster sauce, Mirin, tamarind paste). Most of them I’d used a only a couple times before they went bad. So, go through all your condiments and decide which ones to keep. Not yet expired? Look at the ingredient labels. Do you see corn syrup, artificial dyes or flavors, or ingredients you can’t pronounce? If so, toss.
Finally, are there any condiments left that you have used maybe only once and have no idea how you’ll use them again? Those are good candidates for tossing or giving away to a friend.
Baking soda: if it’s older than 30 days, it’s no longer doing its job. Toss it.
Make sure you empty out the freezer, too!
Toss anything that’s freezer burned.
Like with the the rest of your kitchen, look at any processed foods you’ve got and decide for yourself whether you want those foods to continue being part of your life.
Clean the Fridge & Freezer
It’s a necessary evil: clean out the refrigerator and the freezer before you put any food back.
Putting Your Food Back
When you’re putting your foods back into the fridge or freezer, remember these rules:
The coldest spots of the fridge are the back of the top shelf and the back of the bottom shelf
The warmest spot is the door- so that’s a good place to store your condiments and other items that won’t spoil easily.
The fruit and vegetable drawers are there to give your fresh produce an extra layer of protection from the cold air of the fridge. But it’s still a good idea to keep your fruits and especially your more delicate vegetables in produce bags. There are a lot of reusable options out there today so it doesn’t have to be single-use plastic.
If you need more space than the fruit and veggie drawers can give you (that’s me!) then try getting some larger, ventilated tupperware containers. I use OXO’s “Greensaver” containers and they’ve helped me save many of my veggies from too-early demise
